Anyway, on to the UV stuff. This is a bit of an abstract area, so I'll go through it with a few pictures (yay pics!). In 3D space, there are XYZ coordinates. Now, if you want to use photoshop or something to texture your grey model with detailed strokes, you can't use photoshop to paint in 3D space of course (*yes you can, CS4 introduced that...* *shhh, just ignore that* *ahem, go on*) Ok, so there is a different coordinate system called U and V that exist in 2D space. The tricky part is peeling apart your 3D model and flattening it out. It's not so hard to just rip bits off of your model (digitally speaking) and smash them into 2D. However, you don't want any overlapping bits, cause then if you paint in one spot over the UV map, it'll appear in two spots on the model in 3D, see?
Imagine peeling apart an orange. If you pulled off a whole bunch of pieces, you could flatten them out and paint over them, but once the peel is reassembled, you'd have many seams, which are hard to transition over with paint. So we want to avoid overlapping pieces, and minimize the seams. Great! But there's a third issue... (*groan*) If you look at a map of Canada, it often appears about the same size as the States or a bit bigger. But everyone knows how massively huge Canada is... so what's the deal? Well as the ancient Egyptians figured out, the earth is round and maps are flat (*ok, so maybe it wasn't them... who knows anyway*). There will be distortion in looking at a 2D texture of a 3D object and vice versa. So minimize distortion and seams, no overlapping bits. Off we go!!!
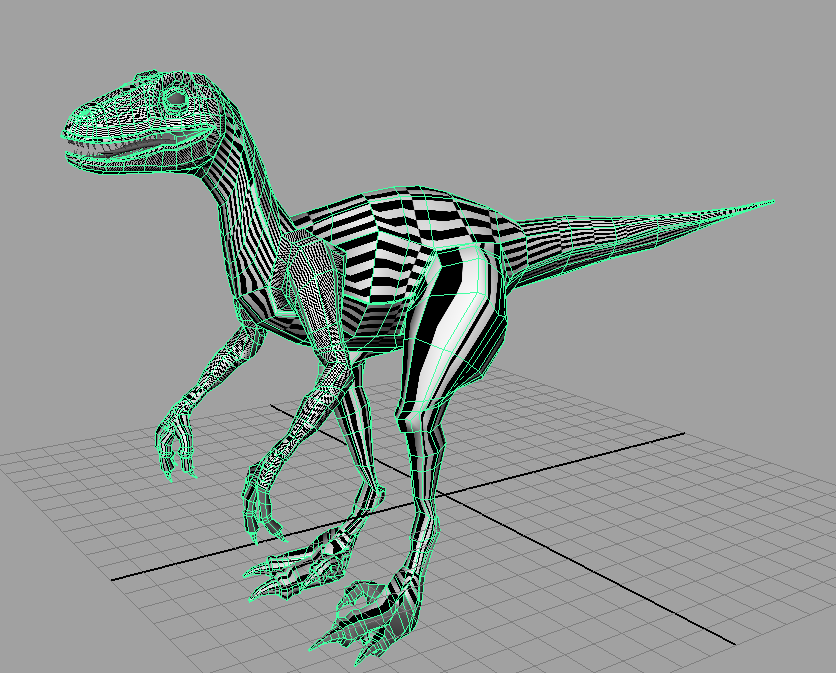
In order to monitor the process, people often use checkered patterns, cause it's easy to see distorted and stretched regions. Maya gives you a default UV map, but it's usually awful! Observe:
Ok, so it's not much to look at right now, let's start with the head and neck. Relatively easy to grab those faces and uncurl them as though they were cylinders. Here's the result of that:

The body comes next, working around the areas where the arms and legs come off. We can sew together the UVs at the junction between neck, body and tail so there's no seams there. We also scale the UVs so that the checkers appear all the same size.


And if you want to know what the UVs look like, here's a couple final screenshots. I arranged them as they're located on the body and then cram them into a 0-1 U and 0-1 V space which we can start painting over.


Hope that was informative and interesting. I'll be working on some texturing today and my goal is to have it done by Wednesday I think. Thanks for reading!
Later,
Stuart
Cool orange-peeled dino. Thanks for the details, its neat to see how it goes down.
ReplyDeleteSo was the Canada-miniaturization a US-produced projection map?
Probably... it's a conspiracy.
ReplyDelete