Friday, May 31, 2013

Luminance depth layer with mental ray

This is the first post in quite a long time that's not related to my master's research project (well it is, kinda), but I felt like I had to share this, because it resolves a pretty long standing issue that has bothered me. Hopefully it is of use to a couple other people as well.

First off, credit for this goes to this member of creative cow (all of six years ago): http://forums.creativecow.net/thread/61/857907#857910

Rendering a luminance depth (or z-depth) layer in mental ray so that it respects smooth mesh preview:

There are a number of ways to get a depth pass out of maya that I won't get into. I much prefer to use a separate render layer because it is so fast to (re-)render and you have much more control over the details, than if you use a render pass on a beauty layer. But the problem with using the luminance depth preset on a render layer is that it forces you to use Maya software, which doesn't respect smooth mesh preview, so your depth pass doesn't line up with your other passes (I'm referring to layers and passes interchangeably here). And if you switch to mental ray, the pre-built shader setup doesn't work when you batch render.

So, here is the shading network that will give you the exact same information as the luminance depth preset, but in mental ray.

1) Create each of these nodes and link them as follows:


a) samplerInfo.pointCamera > distanceBetween.point1
b) distanceBetween.distance > setRange.valueX
c) setRange.outValueX > Ramp.vCoord
d) Ramp.outColor > SurfaceShader.outColor

2) It doesn't look like it in the thumbnail, but the ramp should look like this (white on bottom, black on top)


3) And the final things are to change the Max value in the setRange to 1 (I think this might have been missed in the original thread). And change the Old min and Old max to the range you want the transition to be over. Use the distance tool to check the distance you want. You can key this as well, but it might be easier to do that in post, depending on the scene.
Update (28/08/2014): I have noticed that in some instances large world distance values don't work. Instead I have to divide the values by 10 or 100 to get a proper range. I suspect this has something to with camera coordinate space, which is what the samplerInfo is using, but I don't really understand it. Comments are welcome on this point.


4) And the actually real final thing is to put all your geo into a new render layer and give it a material override with this new surface shader.

5) And render.

And this is the difference between maya software and mental ray.


There is still faceting in the mental ray, but in that case you have the control, instead of being limited to maya software render. Let me know in the comments if it works for you, or if I've missed something.

And my render is done, so I'll jump back to maya now.

Later,
Stuart

PS Okay, one last tip I'm experimenting with. nHair doesn't seem to work with this custom surface shader (there might be a way). The hair I want to be in the depth pass is darkish grey, so I've just added a directional light and increased the intensity until the hair renders at about the value I want. Nothing else is affected of course. Not super precise, but better than not including the hair in the depth pass. We'll see how it turns out.

Sunday, May 26, 2013

RIN - Grooming

A couple more rendered stills. I've got the mouse all behaving and rendered and I'm fairly pleased with it. I wasn't sure how the "glass" idea would actually work with a fully animated mouse. I did have to do some animation tweaks and re-rendering to fix some strange refractive issues, but overall I think it is successful. You'll have to wait to see the animated version for your verdict, but here's a frame (with some motion blur) of some grooming.


And I've composited the microscope with some closeups showing the action in the scene.


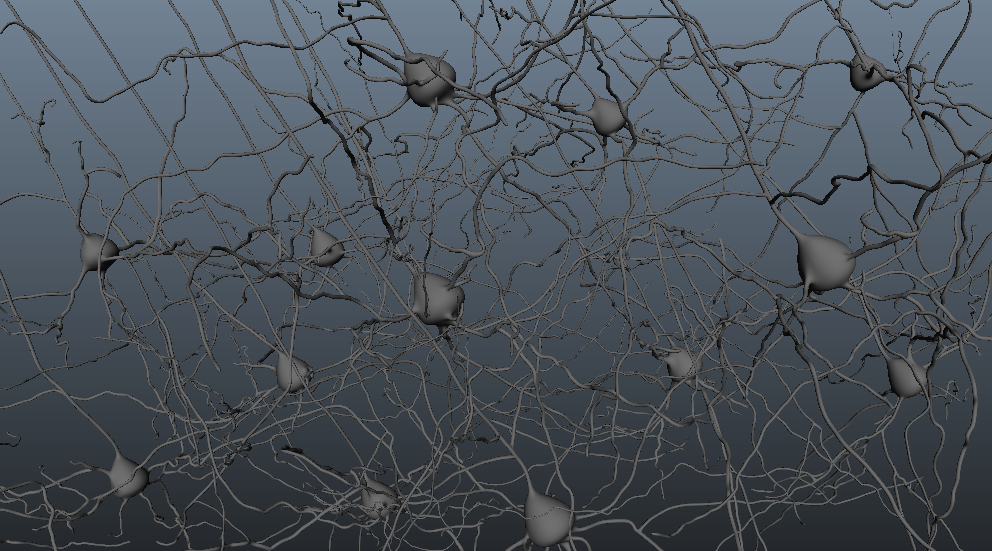
Finally, I'm blocking out another shot that's ultimately going to have lots and lots of neurons. These are just some pyramidal cells so far. (Neuron Builder v0.91 worked pretty nicely for this).


I've currently got several shots in various stages of the pipeline, so this week I'm really hoping to tidy up loose ends and get production really focused. May is coming to a close and so I've got just about a month and a bit left in production.

Later,
Stuart

Tuesday, May 14, 2013

RIN - Microscope rendered

Here's a render from the shot featuring the microscope. It is emitting light that will excite GFP in neurons in a thin slice of brain tissue. I still need to do some compositing on this shot, but it's pretty close to done.


I'm also currently rendering out my animated mouse. Here's a playblast of him moving around:


Later,
Stuart

Wednesday, May 8, 2013

RIN - Microscope model

For one of the shots I've doing this week, a thin slice of a mouse's brain will be examined under a microscope. This is one of if not the most complex model I'll be creating for my animation. I fortunately was able to find some great vector references for a Zeiss model (vector is the best when it comes to technical reference images). I modelled this over the past 2 days or so. I'm still experimenting with the best ways to present models. Something like this takes a bit of time to setup, render, and composite, but it looks a lot nicer than screenshots.


Clicken to embiggen.

Later,
Stuart

Saturday, May 4, 2013

RIN - Continued

Still working away at shots and simulator functionality. I've got three shots in the middle of the rendering phase. Unfortunately mental ray is giving me some trouble on a couple of them, so just working out kinks there. Meanwhile animating my mouse intro shot:

And the simulator is starting to come together as well:

Later,
Stuart

PS Apologies for the low quality jpegs. I just do that so my actual renders look a bit nicer in comparison. No, not really.

Monday, April 29, 2013

Demo Reel 2013

I cut together a demo reel with some of the shots I've been working on this past semester. I asked Minyan (aka PowersWithin) if I could use her music for it and she agreed. Hope you enjoy it.


You can watch in HD over at vimeo.

Later,
Stuart

Thursday, April 11, 2013

RtIN - Mouse render


Work in progress render of my glass mouse. I'm liking how the brain looks, with a bit of wet-looking specular and subtle bump. Still need to work on the glass shader some and the whiskers. And the eye sockets.

Later,
Stuart

Monday, April 8, 2013

Just a bit of Beethoven

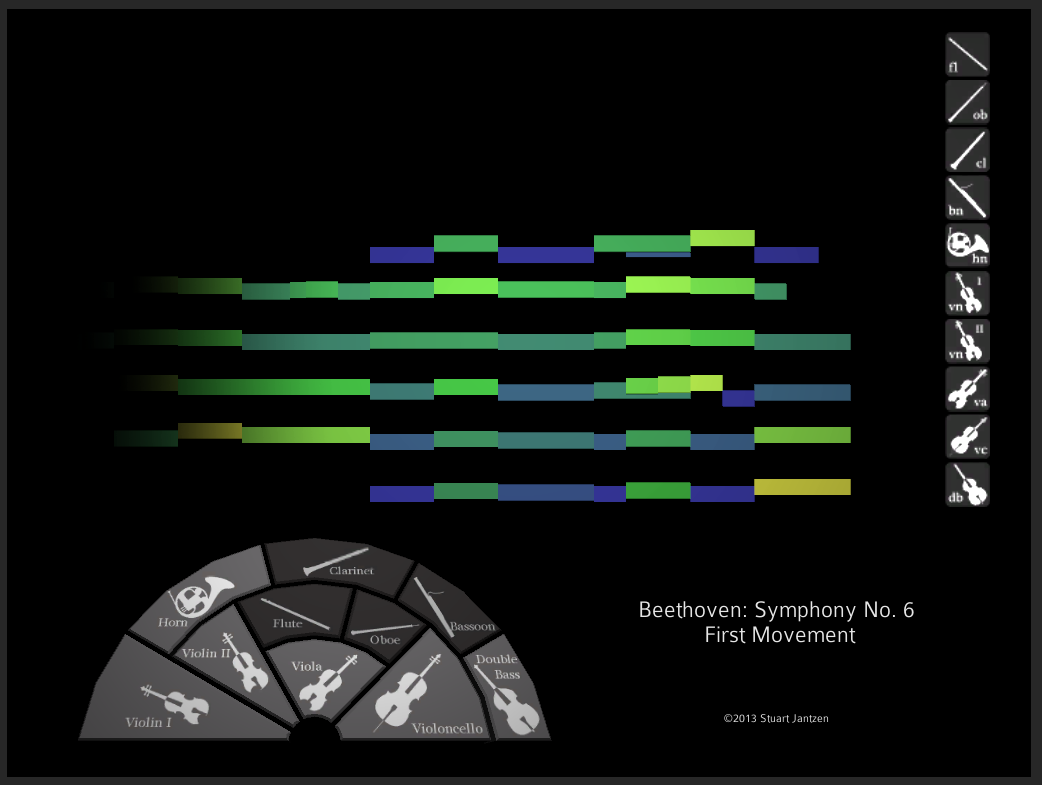
As promised, here is a screen capture of my data vis project. It plays through just a segment of the first movement of Beethoven's sixth symphony, but hopefully it's enough to get the idea of what the project is all about. There's a ton more I'm hoping to do with this in the future. I've been rekindling my interest in classical music recently, so this has been a result and an stimulus for that.


I'd love to hear any requests for visualization of orchestral music in the next iteration of the "app".

Later,
Stuart

Thursday, April 4, 2013

Mouse and music

I presented my music visualization piece yesterday. It looks at a piece of orchestral music and creates a visual representation of the notes for each instrument as the piece plays (in MIDI format). I'd like to share the interactive app in the future, but it's a bit limited currently and difficult to distribute. So for now you'll have to be content with some screenshots and in the near future I'll upload a screen-capture of me using the program.


You can also click on the various instruments to visually filter them so you get a clearer picture of what is happening in the music.


I've also been working hard at modelling, UV mapping and now rigging my mouse. It's been challenging for sure, and there's still a ton of work left to do on it. Sculpt, texture, blend shapes, paint skin weights, animate, light, render and composite. I feel like I can't take any shortcuts either, because this is such an important character in the animation.


Later,
Stuart

Tuesday, March 26, 2013

RtIN - Shot #4 and a headless mouse

Here's a still frame from the shot that takes place directly after the walking dynein. The fluorescence is transported along the axons towards the brain.


 And I've started modelling a mouse which will be in quite a few shots, so I'm hoping it's going to be a decent looking mouse.


I've also been working hard on my music visualization project. I've managed to output cubes to represent Pachelbel's Canon. You can see the repeating structure in the bottom third which represents the repetitive cello line. Baaa bummm deee dummm. That one.

Busy times.

Later,
Stuart